
hara
Spring Boot 2.0 - 3장: 스프링 MVC 본문
스프링 MVC로 시작하기
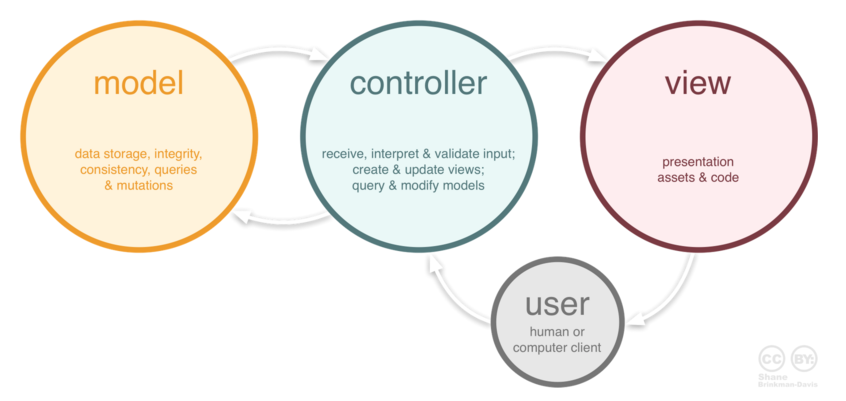
1. MVC 패턴 이란
- Model, View, Controller의 약자
- 하나의 애플리케이션, 프로젝트를 구성할 때 그 구성요소를 세가지의 역할로 구분한 패턴
- 각자의 역할에 집중하여 유지보수성, 애플리케이션의 확장성, 그리고 유연성이 증가, 중복코딩 문제점 해결
2. 스프링 MVC 기본 구성
- dependency에
spring-boot-starter-web추가하기- MVC 클래스 감지
- DispatcherServlet 설정 구성 추가
- 내장형 톰캣 서버 시작에 필요한 jar파일 모두 내려받음
<dependency>
  <groupId>org.springframework.boot</groupId>
  <artifactId>spring-boot-starter-web</artifactId>
</dependency>- HelloWorldApplication() 실행
- 내장 톰캣 실행(기본 port 8080)
- 기본 서블릿 필터 등록
- 정적 리소스 구정(.css, .js, favicon.ico)
- WebJars(https://www.webjars.org) 통합 활성화
- 기본 오류 처리 기능 구성
- DispatcherServlet 사전 구성
@SpringBootApplication
public class HelloWorldApplication{

  public static void main(String[] args) {
    SpringApplication.run(HelloWorldApplication.class, args);
  }
}- HelloWorldController() 추가
- GET Method 로 호출한 URL
http://localhost:8080/매핑
- GET Method 로 호출한 URL
@RestController
public class HelloWorldController {

  @GetMapping("/")
  public String hello() {
    return "Hello world";
  }
}
스프링 MVC로 REST 리소스 노출하기
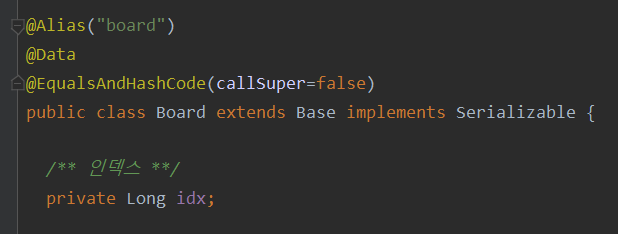
1. Domain 추가
- DB 컬럼과 매핑될 요소
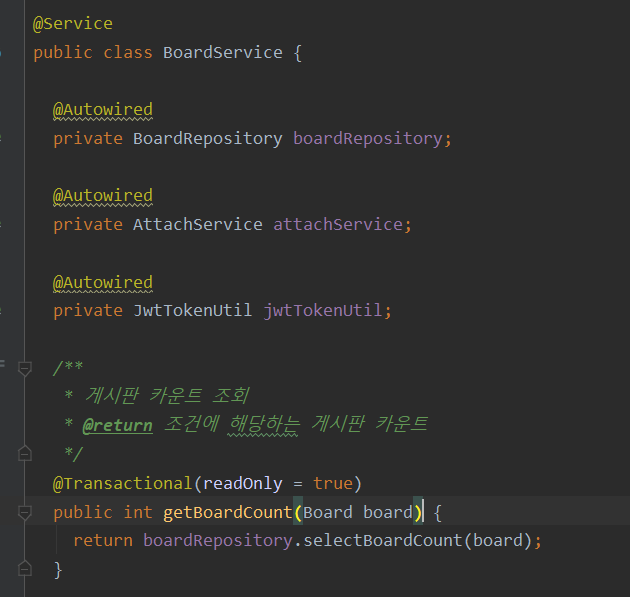
2. Service 추가
- Controller와 차이는
@Transactional을 사용 한다는 것 - @Transactional: 원자성, 일관성, 격리성, 지속성 속성을 가짐
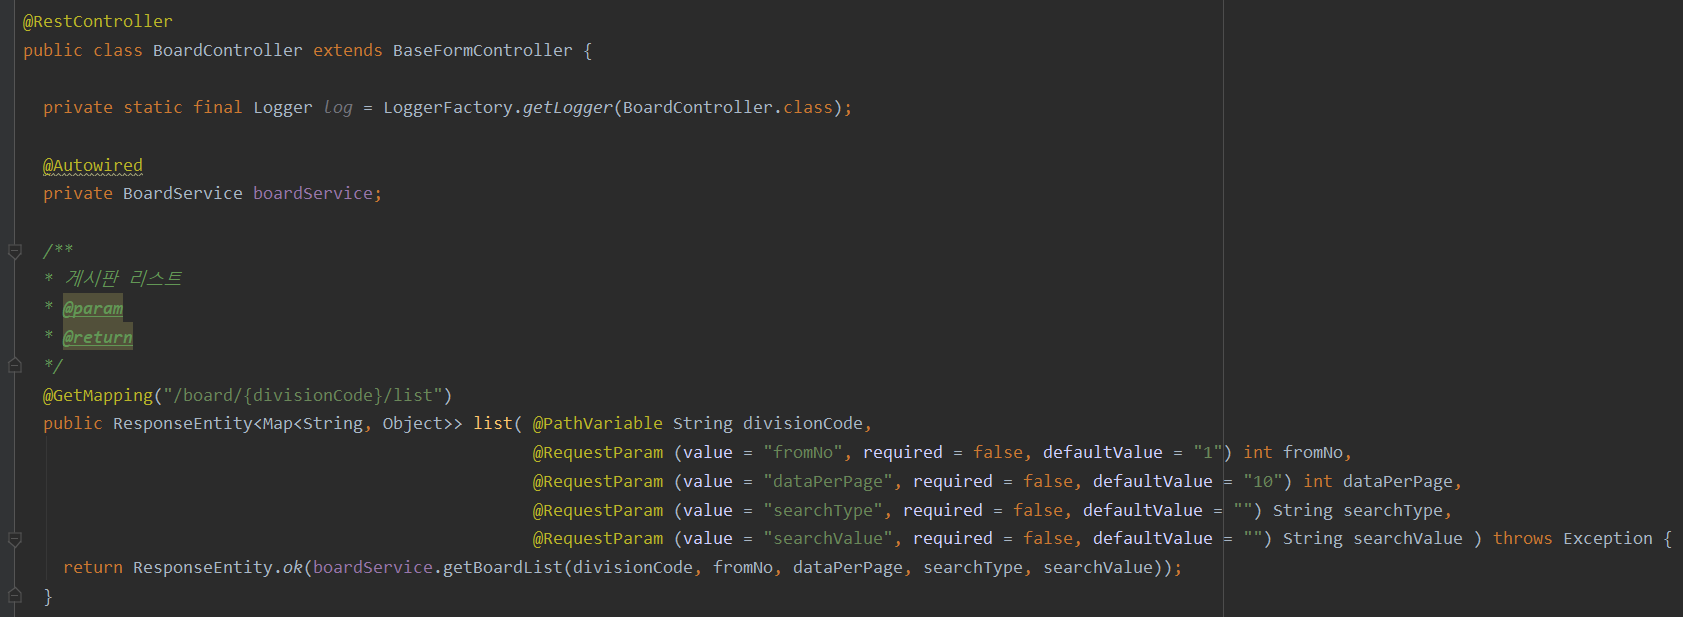
3. Controller 추가
@RestController>@GetMapping,@PostMapping,@PutMapping,@DeleteMapping- 각각 method type 별로 url 매핑
스프링 부트에서 타임리프 사용하기
1. 타임리프(Thymeleaf) 란
- Thymeleaf는 스프링 부트가 자동 설정을 지원하는 웹 템플릿 엔진
- HTML문서에 HTML5 문법으로 서버쪽 로직을 수행하고 적용
- HTML 디자인에 전혀 영향을 미치지 않고 웹 템플릿 엔진을 통해 HTML을 생성
- 독자적으로 HTML을 생성하기 때문에 테스트 시 렌더링 결과를 확인 가능
2. 타임리프 기본 문법
| Title | Description |
| th:text | 텍스트 내용 |
| th:utext | html 내용 |
| th:value | element value값, checkbox, input 등 |
| th:with | 변수값 지정 |
| th:switch / th:case | switch-case문 |
| th:if | 조건문 |
| th:unless | else 표현 |
| th:each | 반복문 |
3. 타임리프 사용하기
- dependency에
spring-boot-starter-thymeleaf추가
  <dependency>
    <groupId>org.springframework.boot</groupId>
    <artifactId>spring-boot-starter-thymeleaf</artifactId>
</dependency>-
속성 설정
Title Description prefix ViewResolver의 접두어. 기본삾은 classpath:/templateds/이다. suffix ViewResolver의 접미어. 기본값은 .html이다. encoding 템플릿의 인코딩. 기본값은 UTF-8이다. check-template 렌더링전에 템플릿 유무 확인. 기본값은 true이다. check-template-location 템플릿 위치 존재 확인. 기본값은 true이다. mode 사용할 타임리프 TemplateMode. 기본값은 HTML이다. cache 처리된 템플릿의 캐시 여부. 기본값은 true이다. template-resolver-order ViewResolver의 순서. 기본값은 1이다. view-names ViewResolver로 처리될 뷰 이름. 쉼표로 구분한다. excluded-view-names 처리에서 제외할 뷰 이름. 쉼표로 구분한다. enabled 타임리프 활성화 여부. 기본값은 true이다. enable-spring-el-compiler SpEL 표현식 편집 여부. 기본값은 false이다. content-type HTTP 응답에 사용될 콘텐츠 타입. 기본값은 text/html이다.
  spring:
      thymeleaf:
          prefix : classpath:templates/
          suffix : .html
cache : false-
controller >
@GetMapping추가@RestController public class HelloWorldController { @GetMapping("/test") public String all(Model model) { model.addAttribute("test", testService.findAll()); return "test"; } } -
test.html 추가
<body>
<h1>text</h1>
<a th:href="@{/test}">test link</a>
</body>
애플리케이션 국제화
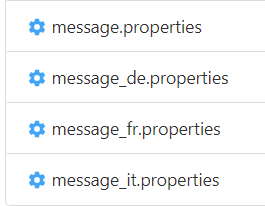
- 사용자언어별 message.properties 추가
- html 에서 사용
<title th:text="#{main.title}">Title</title>사용자 언어 결정하기
1. HTTP 요청 헤더
@Bean
public LocaleResolver localeResolver() {
  return new AcceptHeaderLocaleResolver();
}
2. 세션 속성
@Bean
public LocaleResolver localeResolver() {
  SessionLocalRewolver localeResolver = new SessionLocalResolver();
  localResolver.setDefaultLocale(new Locale("en"));
  return localResolver;
}
3. 쿠키
@Bean
public LocaleResolver localeResolver() {
  CookieLocaleResolver cookieLocaleResolver = new CookieLocaleResolver();
  cookieLocaleResolver.setCookieName("language");
  cookieLocaleResolver.setCookieMaxAge(3600); //만료시간
  cookieLocaleResolver.setDefaultLocale(new Locale("en"));
  return cookieLocaleResolver;
}
4. 고정된 언어 사용
@Bean
public LocaleResolver localeResolver() {
  FixedLocaleResolver fixedLocaleResolver = new FixedLocaleResolver();
  fixedLocaleResolver.setDefaultLocale(new Locale("ne"));
  return fixedLocaleResolver;
}
5. 사용자 언어 변경
- WebMvcConfigurer
내장된 서버 선택 및 구성
서블릿 컨테이너에서 SSL 구성하기
참고
- 책: Spring Boot2 Recipes 3장
- MVC 패턴 설명: https://m.blog.naver.com/jhc9639/220967034588
- @Transactional 설명: https://goddaehee.tistory.com/167
- Thymeleaf 설명
- 기본 설명: https://engkimbs.tistory.com/774
- 기본 문법 설명: https://eblo.tistory.com/55
- yml 설정: https://bamdule.tistory.com/30
'공부 > 스프링 부트 2 레시피' 카테고리의 다른 글
| Spring Boot 2.0 - 7장: 데이터 처리 (0) | 2020.09.16 |
|---|---|
| Spring Boot 2.0 - 6장: 스프링보안 (0) | 2020.09.01 |
| Spring Boot 2.0 - 5장: 스프링 웹플럭스 (0) | 2020.08.26 |
| Spring Boot 2.0 - 2장: 스프링 부트(기본) (0) | 2020.08.11 |
| Spring Boot 2.0 - 1장: 스프링 부트(소개) (0) | 2020.08.11 |
'공부/스프링 부트 2 레시피' Related Articles
more


Comments